How to bake rye bread at home
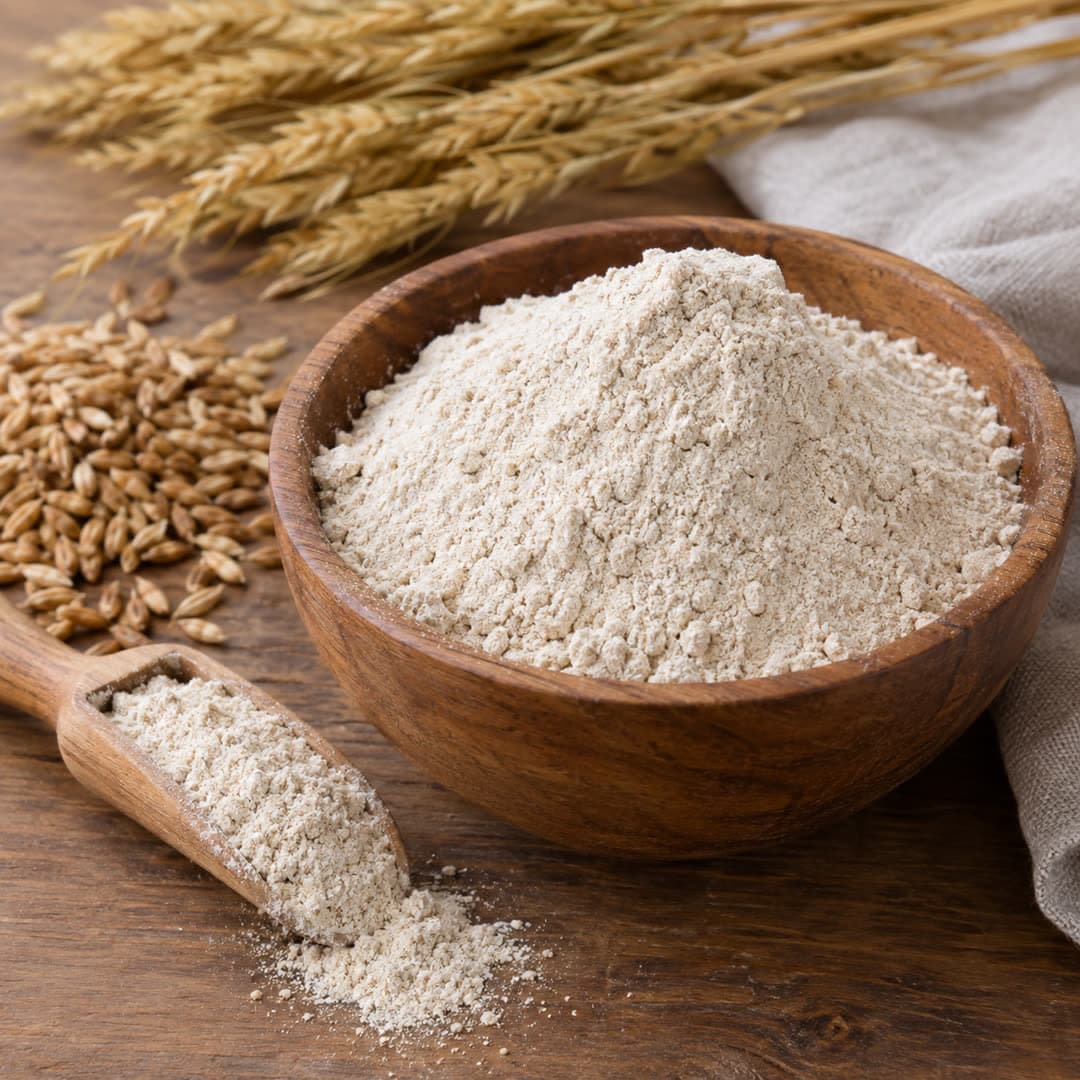
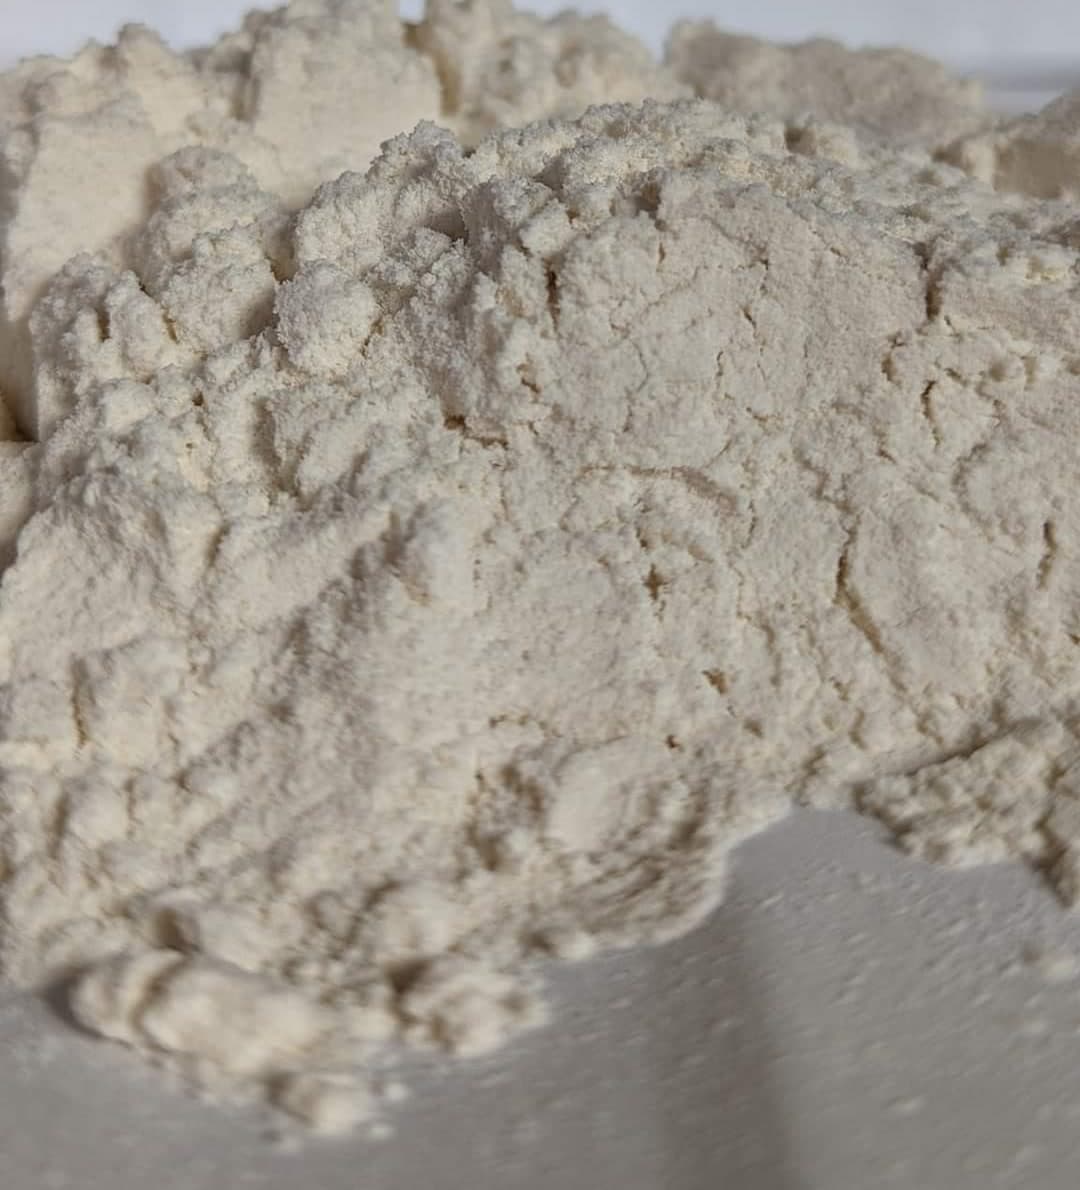
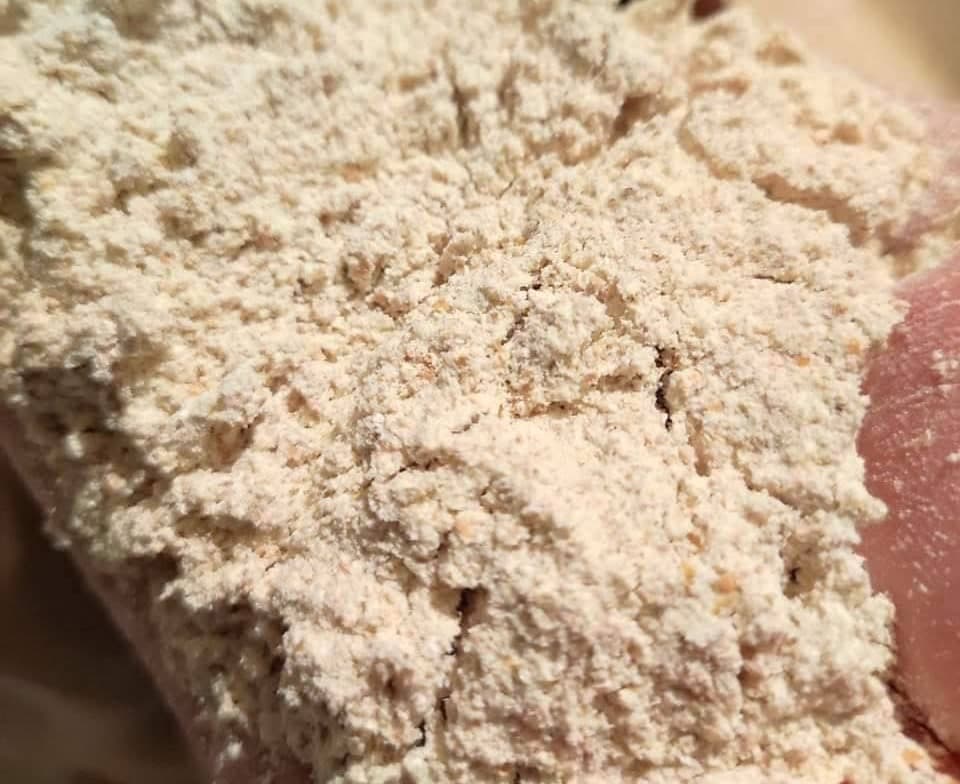
Rye bread has a dense, moist crumb, a deep flavour with a gentle tang, and it stays fresh for days. It is also less fussy than its reputation suggests — as long as you know that rye dough does not behave like wheat dough. Below is a same-day recipe for a rye-wheat loaf with yeast, the reasons behind each step, and a sourdough version for those who keep a starter.
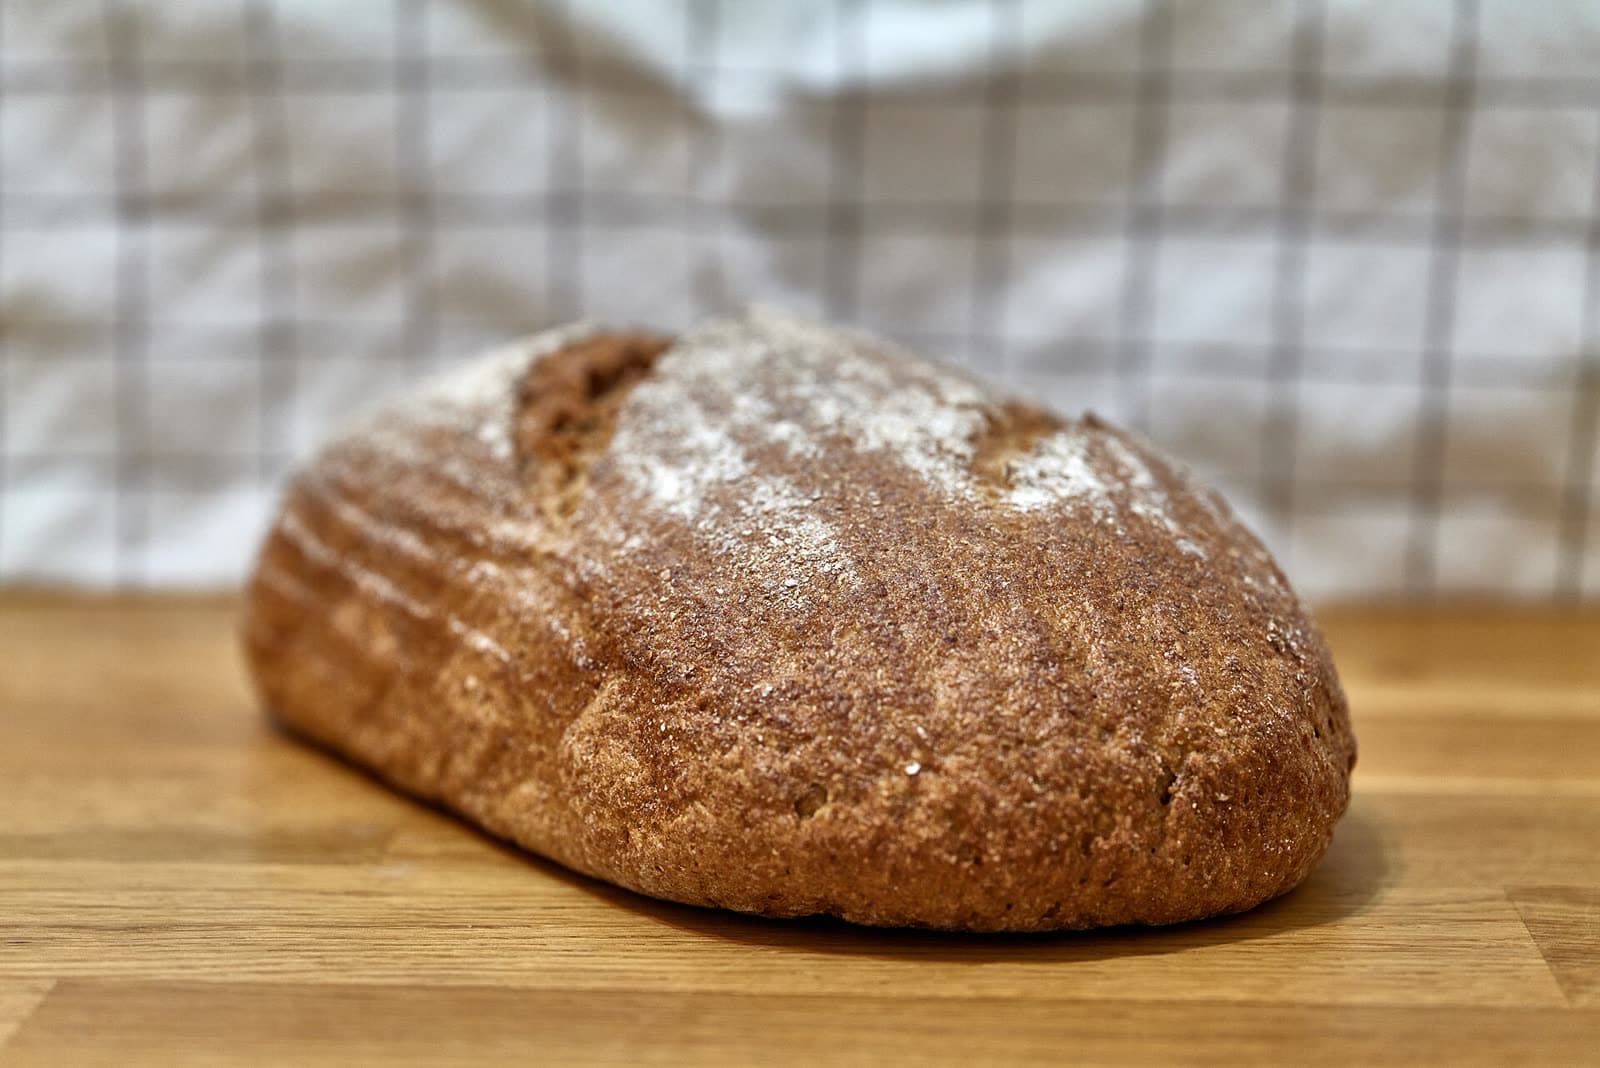
Rye-wheat bread
Ingredients
- 200 g whole-grain rye flour
- 300 g premium or first-grade wheat flour
- 340-360 ml warm water
- 7 g dried yeast (or 20 g fresh)
- 10 g salt
- 1 tablespoon apple cider vinegar (optional, but recommended)
- 1 tablespoon honey (optional)
- 1 teaspoon coriander seeds (optional)
Step by step
- Dissolve the yeast and the honey in the warm water and leave it for 5-10 minutes, until foam appears on the surface.
- Combine both flours, the salt and the seeds, pour in the yeast water and the vinegar, and mix for 5-7 minutes. The dough will be soft and sticky — do not add extra flour.
- Cover and leave somewhere warm for 60-75 minutes, until the dough has grown by about half.
- With wet hands, shape the dough into a log, place it in a greased or paper-lined 1 kg (2 lb) loaf tin, smooth the top with a wet spatula and dust it with rye flour.
- Leave for 40-50 minutes, until the dough rises almost to the rim of the tin and fine cracks appear in the floured surface.
- Bake in an oven pre-heated to 230 °C with steam for 10 minutes, then lower to 200 °C and bake for another 35-40 minutes, until the crumb reaches 96-98 °C.
- Turn the loaf out of the tin and let it cool on a rack for at least 4 hours, ideally until the next day, before cutting.
Why rye dough behaves differently
Wheat dough holds its shape thanks to gluten, an elastic protein network that traps the gas from the yeast. Rye proteins form almost no such network. Rye has something else instead: gums called pentosans, which soak up several times their own weight in water and turn the dough into a thick, sticky paste.
That changes how you work with it. Rye dough is not kneaded until smooth — it is mixed until even. The windowpane test from wheat baking does not apply: rye dough will never stretch into a thin membrane. Sticky hands are not a sign that the dough needs more flour; wet hands and a wet spatula are the right tools.
Why 40% rye
200 g of rye to 300 g of wheat is a ratio that gives you the colour, the aroma and the earthy flavour of rye while the wheat still provides enough gluten for the loaf to rise properly. It is the most forgiving starting point for a first rye loaf.
Below 30%, rye mainly adds colour and aroma to what is still a wheat loaf, which makes it an easy way to try rye in a recipe you already bake. Above 50%, the dough gets hard to shape free-form, needs more acidity and is best made with sourdough. Once the 40% loaf works for you, raise the rye share by 50 g at a time.
340-360 ml of water to 500 g of flour is 68-72% hydration. Rye absorbs more water than wheat, and absorbs it slowly, so the dough will feel soft and sticky straight after mixing and a little firmer after the first rise. Do not add flour to correct it. If you use whole-grain wheat flour instead of white, take the top of the range.
Why the vinegar
Rye grain carries an active starch-breaking enzyme. In the oven, before the crumb sets, it keeps breaking down starch — and the crumb comes out gummy, sometimes with a wet streak under the crust. Acidity slows that enzyme down. That is why traditional rye bread is made with sourdough: the starter acidifies the dough.
In a yeasted recipe a tablespoon of apple cider vinegar does the same job without making the bread taste sour. You can also replace 100 ml of the water with kefir or yoghurt thinned with water: the acidity is similar and the crumb comes out a little softer.
How to tell the dough is ready
Rye dough does not double. After the first rise it should have grown by about half and look airy on the surface. The finger test is less reliable than with wheat, so watch the volume instead.
The best sign of a finished second rise is the surface: the flour dusting starts to crack into a fine network. If the cracks are wide and the dough has started to sink in the middle, it has over-proved — bake it straight away. The loaf will be flatter but perfectly edible.
Baking: hot start, long finish
Rye bread wants a hot start and a long bake. The first 10 minutes at 230 °C with steam give the loaf its final rise and set the crust; then the temperature drops to 200 °C so the dense, wet crumb can bake through without the crust burning. For steam, put a metal dish of boiling water on the oven floor and remove it after 10 minutes.
Tapping the base is less reliable with rye than with wheat. A thermometer is the surest check: the centre of the crumb should reach 96-98 °C. Without one, bake for the full 40 minutes after lowering the temperature — a slightly over-baked rye loaf is fine, an under-baked one is not.
Why you have to wait before cutting
This is the hardest step and the one that matters most. Straight out of the oven, the inside of a rye loaf is still setting: the starch has not firmed up yet, and a knife will leave a sticky, compressed crumb that looks under-baked even when it is not.
Give the loaf at least 4 hours on a rack. Better still, wrap the cooled loaf in a linen cloth and cut it the next day: the crumb becomes even and sliceable, and the flavour deepens noticeably. Rye bread is one of the few breads that tastes better on the second day than on the first.
Common mistakes
- Adding flour because the dough is sticky: the bread turns dry and crumbly. Wet your hands instead.
- Kneading rye dough like wheat dough: it does not develop, it just warms up and gets stickier.
- Waiting for the dough to double: rye dough over-proves and collapses before it gets there.
- Skipping the acidity: without vinegar, kefir or sourdough the crumb often comes out gummy.
- Cutting the bread warm: a sticky crumb that looks raw even in a fully baked loaf.
Variations
Coriander seed is a classic spice for rye bread; lightly crushing the seeds before adding them releases more aroma. A tablespoon of dark honey gives a darker crumb and a hint of sweetness that balances the tang.
For a fuller-flavoured loaf, use whole-grain wheat flour instead of white and add 10-20 ml more water. A handful of sunflower or pumpkin seeds works well too — soak them in water for 30 minutes first so they do not draw moisture out of the dough. To raise the rye share, go to 250 g rye and 250 g wheat, still in a tin.
A sourdough version
If you keep an active rye starter at 100% hydration, the recipe works without yeast or vinegar. Replace the yeast with 150 g of mature starter, and because the starter already contains 75 g of flour and 75 ml of water, reduce the rye flour to 125 g and the water to 265-285 ml.
The timings change: the first rise takes 3-4 hours at room temperature and the second 1.5-2.5 hours, again until the surface cracks. Bake and cool exactly as above. The bread will be more sour, more aromatic and will keep even longer — which is why sourdough is the traditional way to bake rye.
How to store rye bread
Rye bread keeps far longer than wheat bread: wrapped in linen or kept in a bread bin, it stays fresh for 4-5 days. A plastic bag softens the crust and, in a warm kitchen, invites mould.
As with any bread, the fridge stales it faster. For longer storage, slice the loaf and freeze it; the slices go straight into a toaster without thawing.