How to bake homemade bread with whole-grain flour
Homemade bread is one of the simplest and most satisfying things to bake: all it takes is flour, water, yeast and salt. Below is a step-by-step recipe using whole-grain flour, plus the parts recipes usually leave out — how to tell when the dough is ready, and what to do when something goes wrong.
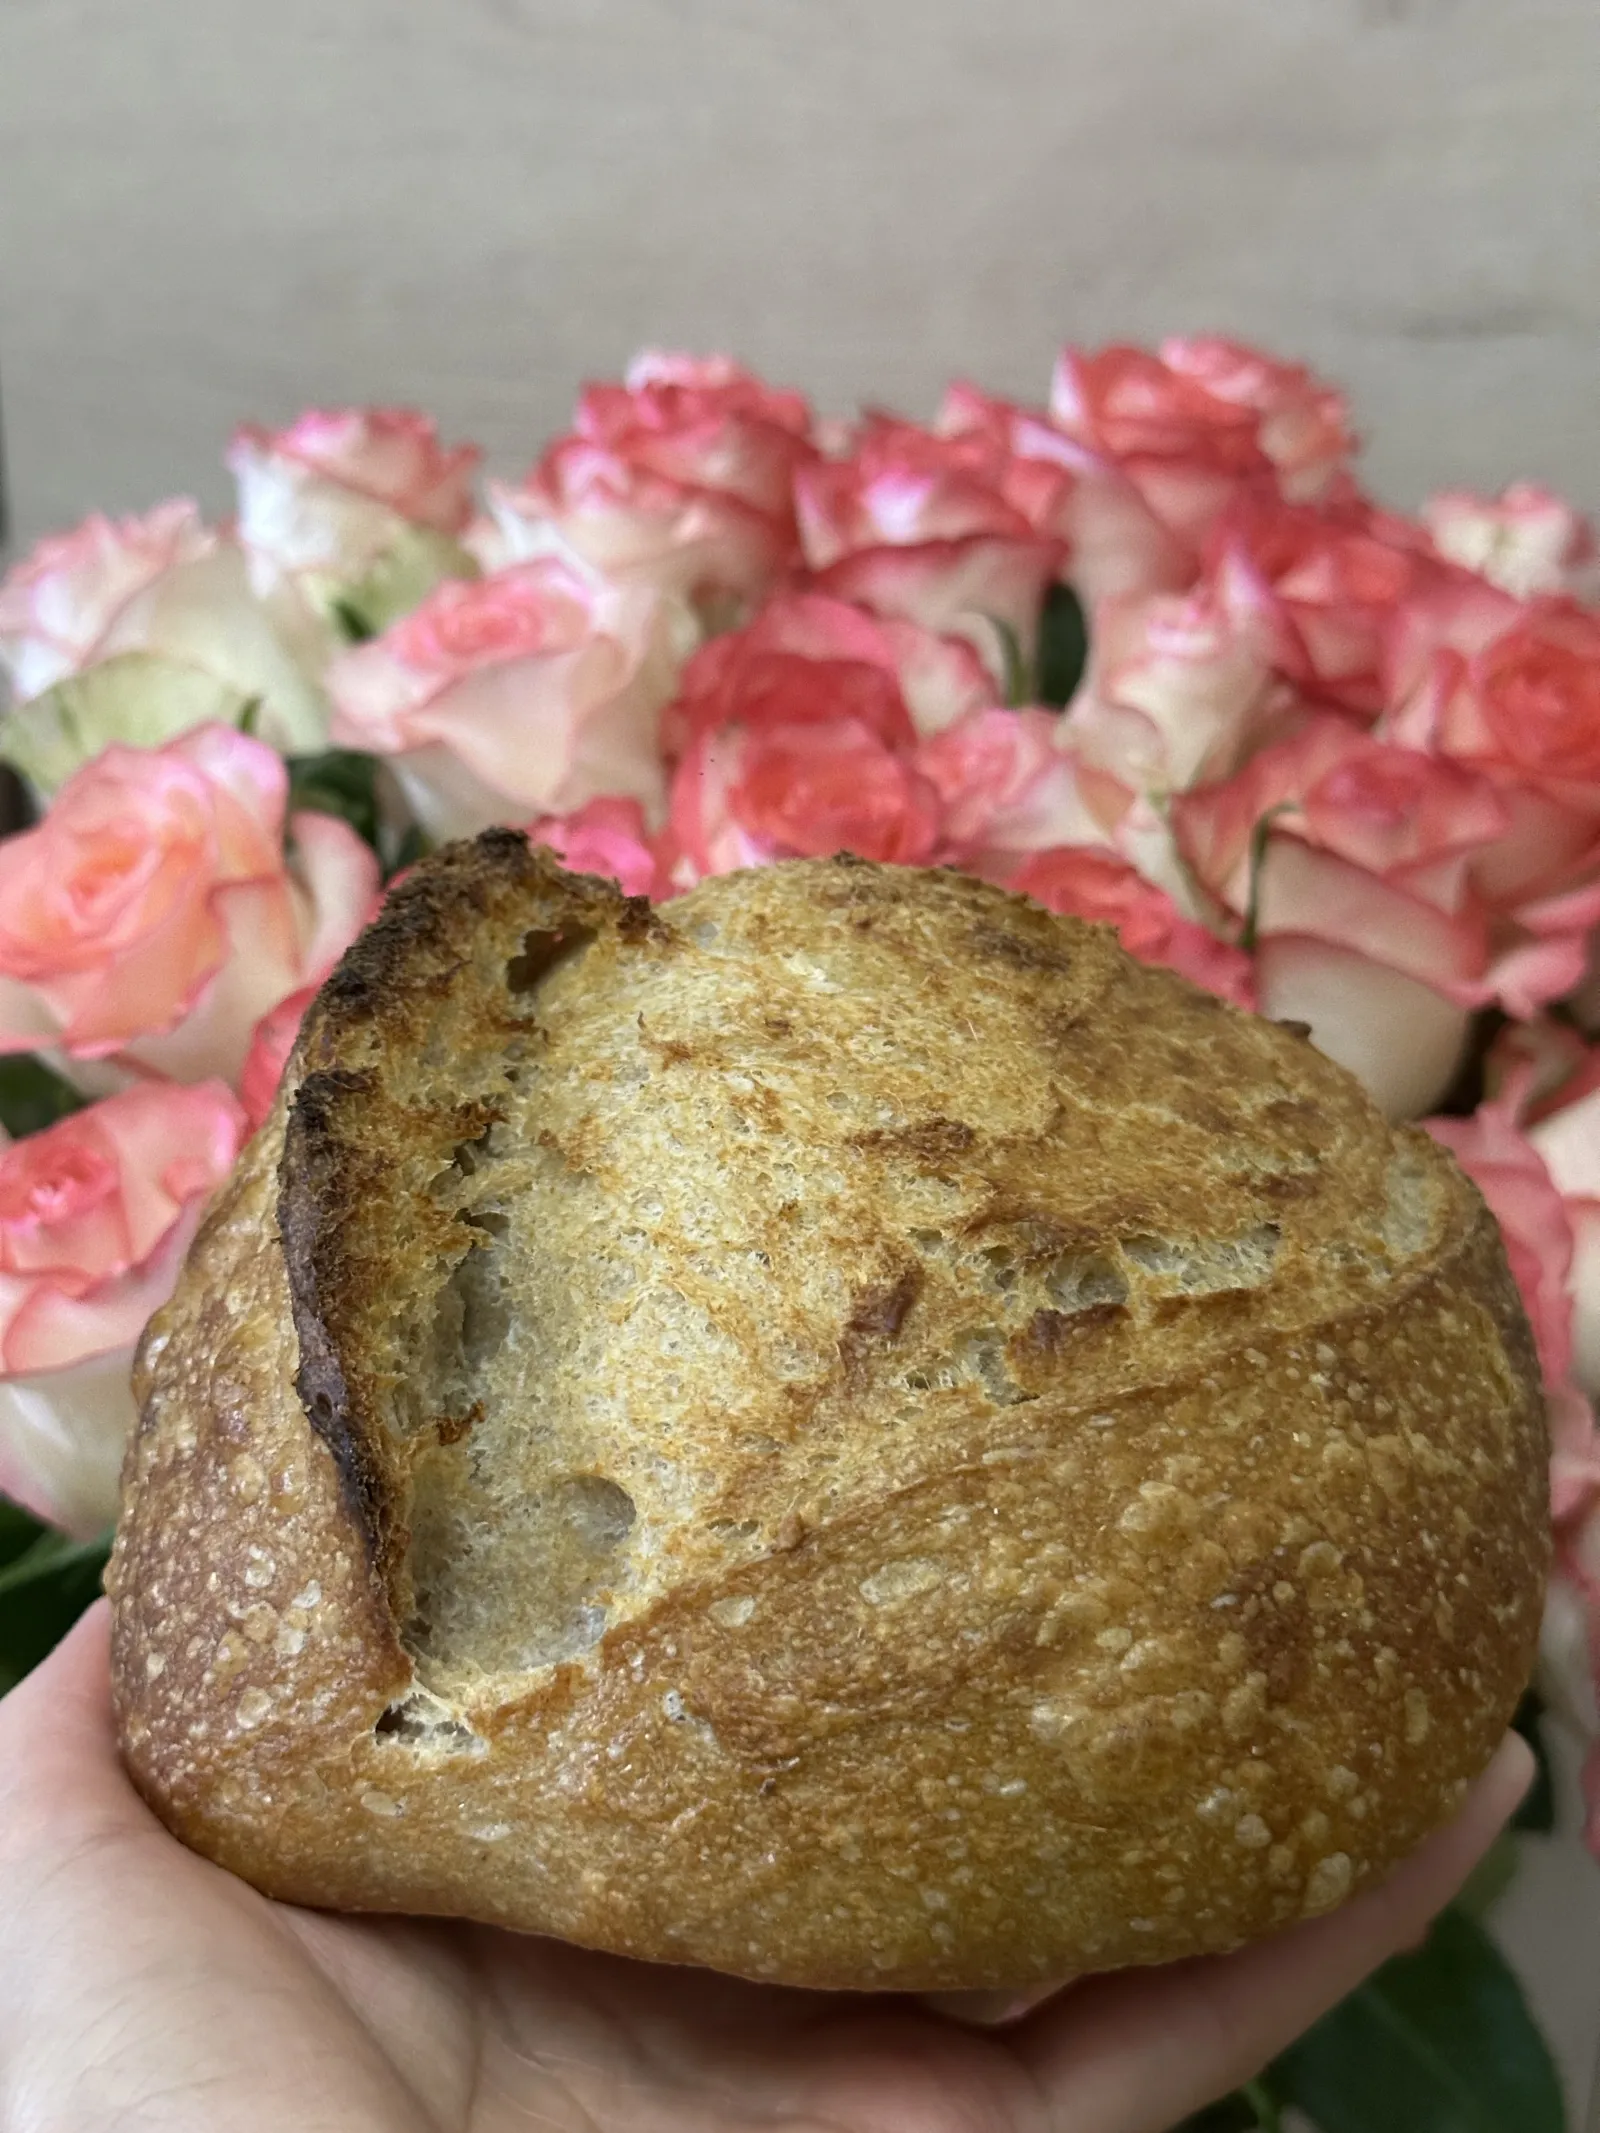
Homemade whole-grain bread
Ingredients
- 500 g whole-grain flour (or 250 g whole-grain + 250 g premium grade)
- 350-380 ml warm water
- 7 g dried yeast (or 20 g fresh)
- 10 g salt
- 1 tablespoon vegetable oil (optional)
Step by step
- Dissolve the yeast in the warm water and leave it for 5-10 minutes, until foam appears on the surface.
- Add the flour and salt and knead to a smooth, soft dough (8-10 minutes).
- Cover and leave somewhere warm for 1-1.5 hours, until doubled in volume.
- Shape the loaf, place it in a tin lined with baking paper and leave it for another 30-40 minutes.
- Bake in a pre-heated oven at 220 °C for 35-40 minutes, until the crust is deep golden.
- Let the loaf cool completely on a rack: cutting bread while it is hot compresses the crumb.
Why these proportions
350-380 ml of water to 500 g of flour is roughly 70-76% hydration — a comfortable range for a beginner. Whole-grain flour absorbs more water than white, so if all 500 g are whole-grain, take the top of the range. With a blend, start at the bottom and add water during the knead if the dough feels dry.
10 g of salt to 500 g of flour is 2%, the standard bread ratio. Salt is not only about flavour: it regulates the speed of fermentation and strengthens the gluten network. Do not add yeast straight onto salt — dissolve it separately in the water.
How to tell the dough is well kneaded
Time is a guide, not a rule: every flour and every pair of hands is different. The most reliable check is the windowpane test — tear off a small piece of dough and stretch it gently in four directions. If it stretches into a thin, translucent membrane without tearing, the dough is ready.
With whole-grain dough that membrane will never be as thin as it is with white flour: the bran particles physically cut through it. It is enough that the dough has become elastic and stopped sticking to your hands. Do not over-knead — whole-grain dough reaches its limit faster.
The first rise
The 1-1.5 hours is an estimate for a room at 24-26 °C. In a cooler kitchen the dough may want twice as long; in a warmer one, half as much. Watch the dough rather than the clock: it should roughly double and hold a mark when you press it lightly with a finger.
If the mark springs back immediately, the dough is not ready. If the dough collapses when you press it and smells sour, it has over-proved. In that case knock it back, shape it and give it a short second rise: the loaf will be denser but perfectly edible.
The oven and the steam
Pre-heat the oven — at least 20 minutes at 220 °C. Bread put into a cold oven loses its final rise and comes out low. Steam matters for the first 10-15 minutes: it keeps the crust soft while the loaf is still growing.
The simplest way to get steam is to put a metal dish of boiling water on the oven floor, or to bake the loaf in a cast-iron pot with the lid on for the first 20 minutes and off after that. Leave the last 10 minutes without steam so the crust can set.
How to check it is done
Crust colour is not the only indicator. The simplest check is to tap it: turn the loaf over and tap the base — a finished loaf sounds hollow. If you have a thermometer, the crumb should reach about 95 °C.
Cooling is part of the recipe, not a wait. Inside a hot loaf the moisture is still redistributing, and cutting into it compresses the crumb and makes it gummy. Give the bread at least an hour on a rack.
Common mistakes
- Too much flour during the knead: the dough turns dry and the bread stales quickly. Oiling your hands lightly is the better answer.
- Water that is too hot: above 40 °C it kills the yeast. The water should be warm, not hot.
- Salt straight onto the yeast: the same result. Dissolve the yeast in water and add the salt with the flour.
- Too short a second rise: the loaf tears at the side, because the crust sets before the middle has finished growing.
- Cutting the bread hot: a compressed, gummy crumb.
Variations
The simplest change is the flour ratio. 250 g whole-grain plus 250 g premium grade gives a softer crumb while keeping the flavour of the grain. 100% whole-grain gives a fuller flavour and a denser crumb; that version works better in a tin.
For a distinctive, mild nutty flavour, replace 100-150 g of the flour with emmer flour. You can also add a handful of sunflower or flax seeds — soaked first, so they do not take water out of the dough. A tablespoon of honey added with the salt speeds up fermentation and gives a darker crust.
A sourdough version, without yeast
If you keep an active starter, the same recipe works without dried yeast. Replace the 7 g of yeast with 100-120 g of mature starter and reduce the water by roughly 50-60 ml so the overall hydration stays the same. Leave the amount of flour as it is.
The timings change substantially. The first rise, instead of the 1-1.5 hours it takes with yeast, will want 4-6 hours at room temperature, and the second 1.5-2 hours. Many bakers do the second rise in the fridge overnight and bake straight from cold in the morning: it is convenient, and it gives a richer flavour and a scored cut that opens better.
Doneness is judged the same way — by tapping and by thermometer. The only difference is the cooling: a sourdough loaf is better left for at least two hours before cutting, because its crumb is wetter and takes longer to settle.
What equipment you actually need
This recipe does not need a bread machine. One large bowl, your hands and an oven are enough. Two things, though, genuinely change the result: kitchen scales and a thermometer.
Scales matter because measuring flour by volume — in cups — is out by as much as 20% depending on how you filled the cup. The same “cup of flour” can be 120 g or 150 g, and that is the single most common reason the same recipe turns out differently for different people.
An oven thermometer is the second useful tool: most domestic ovens run 10-20 degrees off the temperature they are set to. Measure once and you will know how your oven actually behaves instead of guessing.
How to store homemade bread
Homemade bread contains no preservatives, so it stales faster than shop-bought. Once it has cooled completely, keep it in a linen bag or a bread bin, cut side down. A plastic bag holds the moisture in but softens the crust.
The fridge is the worst place for bread: at low temperatures the starch recrystallises fastest, and the loaf stales sooner than it would on the counter. If you need to keep it for longer, slice the bread and freeze it — a slice from the freezer comes back in a toaster or an oven.